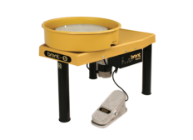
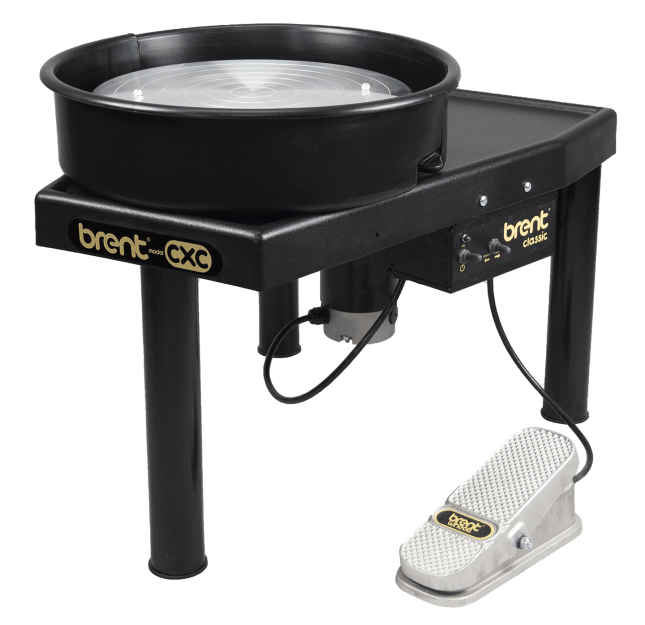
See all your favorite brands


Glazes & Underglazes
Find Your Style


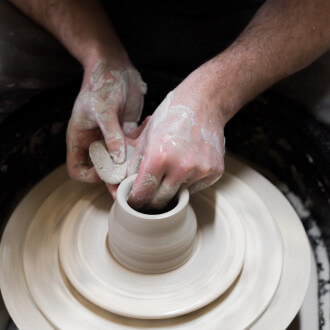
Techniques, Tutorials, and Resources