
Image Transfer and Printmaking
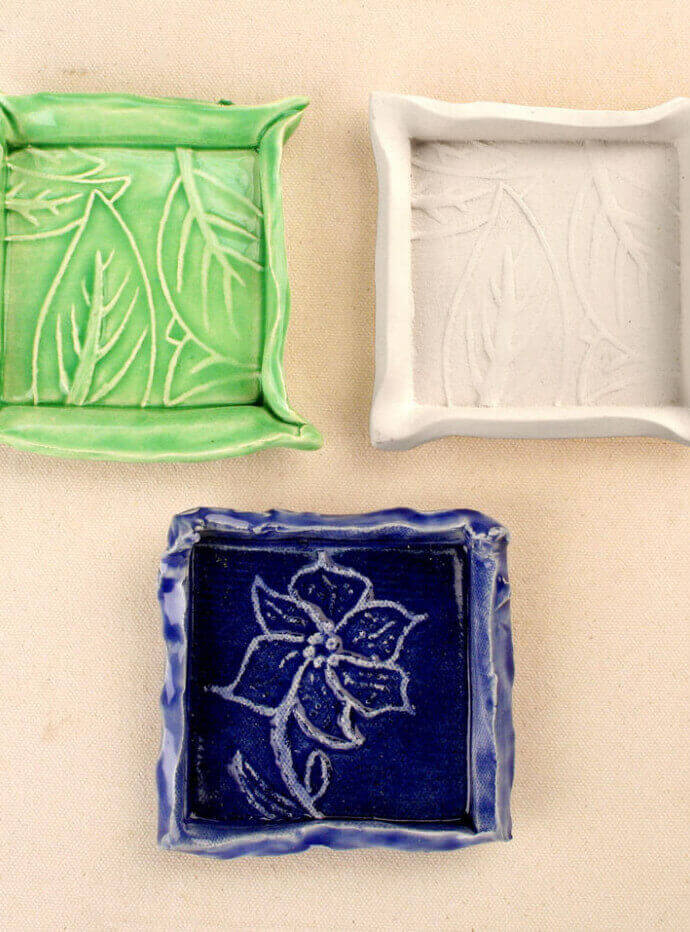
Printmaking is a very popular form of art making which many people overlook when working with clay. Many of the processes and techniques which are used in traditional printmaking can be translated into ceramics. With many of the tools and supplies you already have in your classroom, you can create endless lesson opportunities. In this lesson students will create 3 small sushi dishes. Each dish will be created with a similar process but each will be decorated using a different printmaking method.
Supplies List
- Balsa Foam
- White Art Clay Moist
- Liquid Underglaze (LUG's)
- Glaze Brushes
- Hardwood Rolling Pin
- Hardwood Thickness Strips
- Hardwood Modeling Tools
- Paper Towels
- Velvet Underglazes

Block Printing on Clay
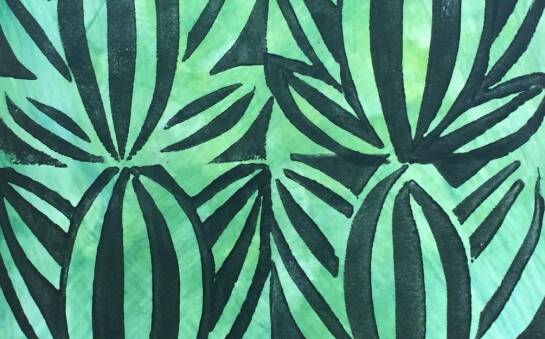
Sketch out designs of images with textures seen everyday in nature. Choose 1 or 2 images to transfer onto a piece of Balsa-Foam®. Transfer designs onto a piece of Balsa-Foam® by using wooden tools and carving it. (Students can use tracing paper on top of the foam by impressing into the foam with a wooden tool, and going back over again with deeper carves. Or they can re-draw with marker on top of the foam or draw directly with a wooden tool if they have more confidence). Make sure they create different widths and depths within their design in order to create a more interesting texture. Keep in mind that they should not carve completely through the Balsa-Foam. Students now have a custom made form that serves as a mold for clay.
Firing and Glazing
The dishes created with these methods can be bisque fired at Cone 04, then glazed.
Press Carved Block Into Clay
Roll out a small slab of clay about ¼” thick. Cut the slab into a 5″ x 5″ squares. Lay the Balsa-Foam® mold texture-side-up on the table, and lay the square of clay directly on top of that. Begin gently pushing the clay into the Balsa-Foam® with the palm or by using a small roller. Make sure you put equal pressure around the complete mold.
Fold Edges
Fold the excess clay down over the sides of the mold to create sidewalls for each dish.
Remove Block
Turn the mold back over, with the clay attached, and gently remove the Balsa-Foam® to reveal a small dish with a textured center.
Block Printing with Underglaze
Using a sponge stamp, apply AMACO® Velvets or LUG’s to the textured side of Balsa-Foam®. Only apply the underglaze to the high points on the block. You do not want to get underglaze on the low points or carved away texture.
While the underglaze is still wet, stamp the Balsa-Foam® into the center of another 5″ x 5″ slab of clay.
Fold the excess clay down over the sides of the mold to create sidewalls for each dish. Turn the mold back over, with the clay attached, and gently remove the Balsa-Foam® to reveal a colored relief of the original design.
If you choose to use other sizes of Balsa-Foam® you will need to adjust the size of your clay slab in order to create the dish shape.
Monoprinting with Wet Underglaze
Fold a piece of paper towel into a square approximately 3″ x 3″. Using AMACO® Velvets or LUG underglazes, paint small images of nature on the paper towel. Encourage the students to apply multiple colors and layers.
While the image is still wet, carefully lay the wet image onto the center of another 5″ x 5″ slab of clay.
Apply pressure to the paper towel using the flat side of the Balsa-Foam® block. With the Balsa-Foam® block still in place, fold the sides of the clay up around the Balsa-Foam® block in order to create the sides of the dish. Remove the Balsa-Foam® block and peel away the paper towel to reveal a third small dish, this one with a mono-print transfer in the middle.
Similar Lesson Plans
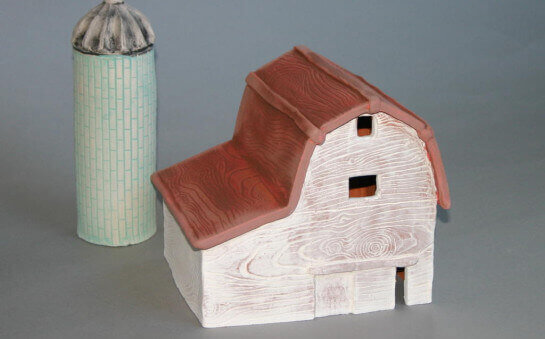
Barns and Silos
Learn More
Positive and Negative Printmaking on Clay
Learn More