
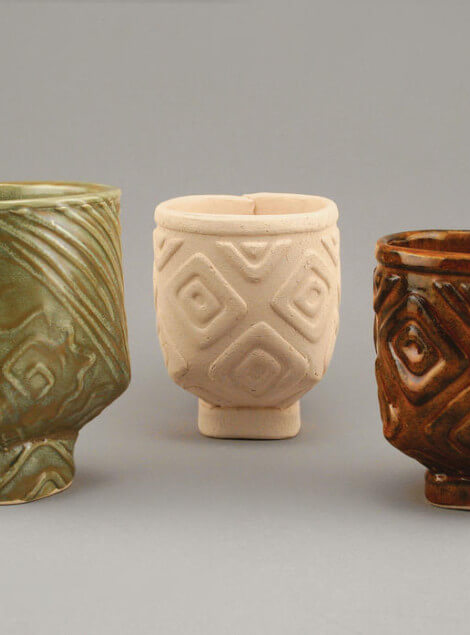
Hand Built Tea Bowls
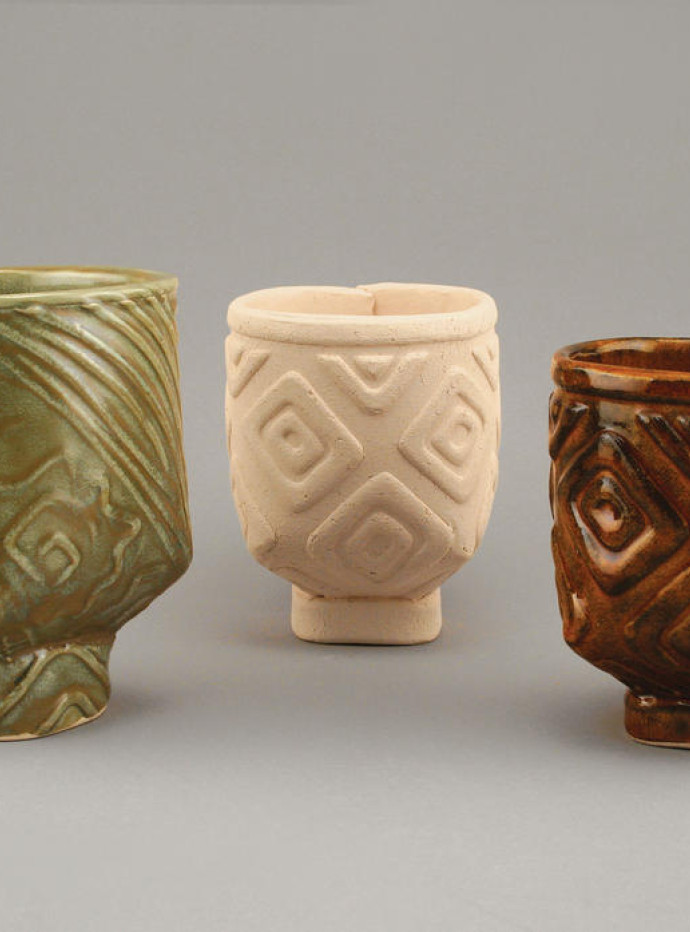
Making a textured tea bowl from slabs.
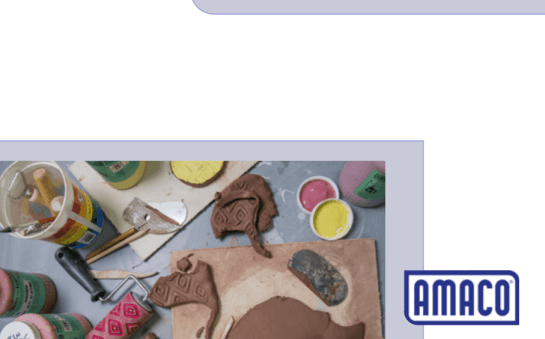
Cut Slab and Texture
Roll out 1/4″ thick slab of clay and cut out a 11″ x 4″ rectangle using a sharp clay cutting tool (save the remaining scraps of clay for later use in this project). Place rectangle onto textured plaster slab framing your composition. Firmly tamp clay onto textured slab using a sandbag (this will help to impress all of the texture and keep the clay from moving when rolled with a pony roller).
Roll
Use a pony roller to firmly roll the clay onto the texture (using the small end of the roller bevels the narrow ends at about a 45 degree angle so that the seams will overlap easier).
Remove From Mold
Carefully lift the clay slab off the textured slab mold.
Score Ends
Stand slab up into a cylinder shape and score the textured side of one end of slab. Score the opposite end on the smooth side of the slab (this will create an overlap of the seam).
Slip or Vinegar
Use slip or vinegar when joining the two ends to insure that the seam will stay together.
Join
Gently overlap the two ends to create an overlapping seam.
Mark Base
Divide the cylinder into four equal parts by laying two sticks on top of the cylinder.
Cut Darts
Using a sharp clay tool, cut out four triangle darts centered on the marks made by the wooden sticks (darts are about 1″ wide and 3/4″ deep). The wider and deeper the darts, the more drastic the angle will be on the finished tea bowl.
Fold Darts
Score the edges where you removed the darts and use slip to insure that the clay will stay together. Fold the flaps in until they touch creating the four corners and carefully press the clay together.
Making Base
Roll out a clay slab to 1/4″ thickness. Turn the tea-bowl over, place on top of the slab, and trace around the bottom edge into the clay slab.
Cut Out Base
Cut out the clay piece from the slab using sharp clay cutting tool.
Attach Base
Score and use slip or vinegar to attach the bottom slab to the tea bowl. Use a pony roller to roll the slab onto the tea bowl.
Foot
For the foot on the tea bowl, cut out a 3/4″ wide strip of clay and roll it out onto a contrasting texture using the pony roller. Cut length to match up with the shape and diameter of the slab bottom (approximately 4″). If this seems too large, cut to desired length.
Join Ends of Foot
Score and use slip to attach the ends together.
Attach Foot
Place foot onto tea bowl to insure a proper fit. Score and slip the foot and press into place.
Refine Rim
Stand tea bowl upright and define the final shape of the rim (the rim could be round or square). Use a damp sponge to soften the top edge of the lip.
Firing
Bisque fire tea bowl to proper cone temperature depending on clay body used. Apply glaze to tea bowl and fire to appropriate temperature.
Similar Lesson Plans
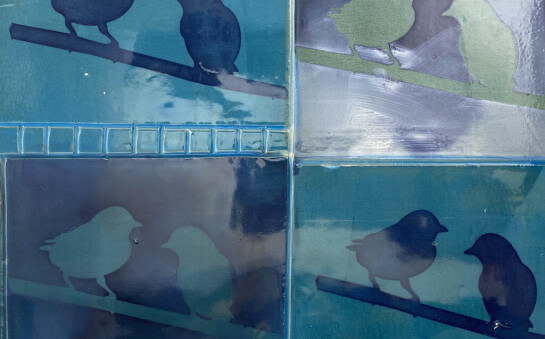
Super Simple Silkscreens: Printing with Underglazes
Help is on the way. In this workshop we will use common craft store materials to make frameless silk-screens to print onto clay.
Learn More
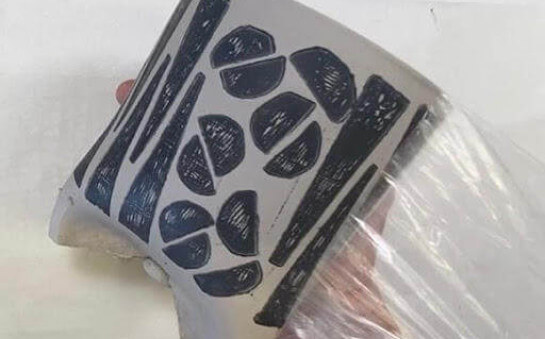
Press & Print on Moist Clay
In this video we demo how to make stamps to print and press on moist clay slabs creating texture and color at the same time. Once your slabs are textured, we demonstrate how to build simple cylinders which can be modified to create a wide variety of forms.
Learn More
Newbie Clay
NEWBIE CLAY is a brief guide with information to help you start on your clay journey, including video links for making, firing, and glazing your ceramic projects, definitions of common terms in clay, and guidance for choosing your materials.
Learn More