
Block Printing with Underglazes on Wet Clay
Printing is a very popular art form that is perfect for creating repeating patterns, images and designs. Printmaking techniques can easily be transferred into working with clay with the help of AMACO® Balsa-Foam® and AMACO® Underglazes, along with the many tools you already have in your classroom. This is section one of our lesson plan on how to use printing methods for transferring images onto clay.

Sketch Design
Lightly sketch a design or image onto the Balsa-Foam® block using a soft pencil.
Carve Design
Carve the design into the Balsa-Foam® along the pencil lines by using wooden or carving tools. Varying the lines depths and widths will help make a more unique and interesting block. Be sure not to carve completely through the Balsa-Foam® block.
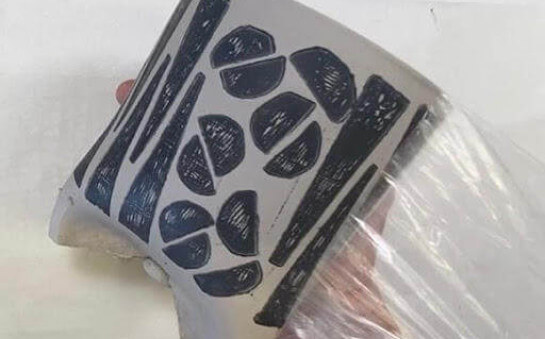
Completed Carving
Apply Underglaze to Foam Black
Using a sponge stippling tool, apply AMACO® Velvets or LUG Underglazes to the decorated side of your Balsa-Foam® block.
Multiple Colors
Multiple colors can be applied during the same printing using a detail brush.
Stamp into Wet Clay
While the underglazes are still wet, stamp the Balsa-Foam® into your clay.
Shape
Continue to shape the clay as desired.
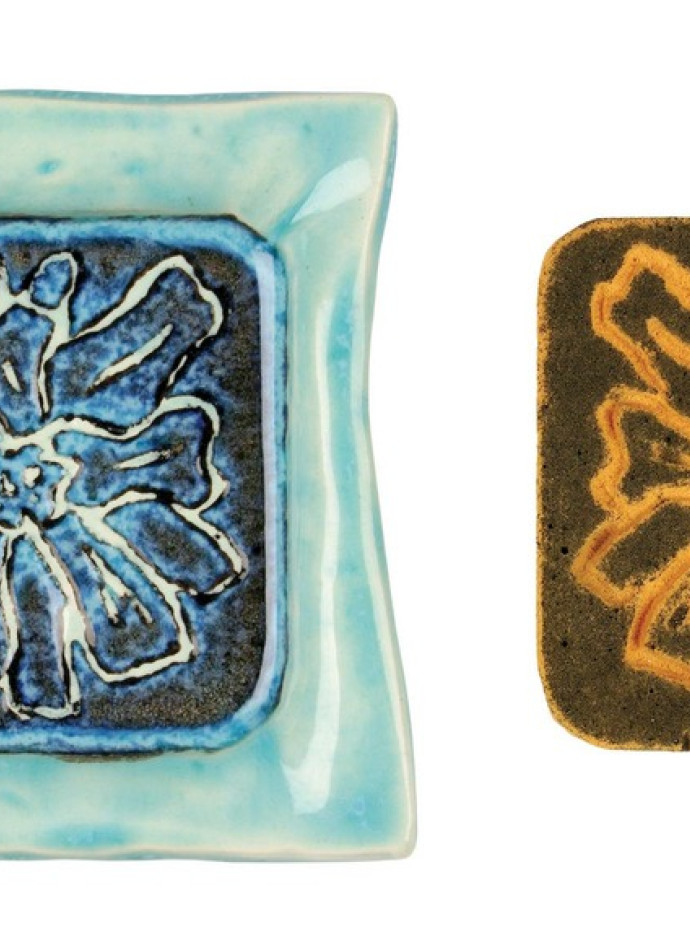
Separate
Carefully pull them apart. Additional colors or underglaze highlights may be painted onto the design. Allow to completely dry before firing.
Similar Lesson Plans
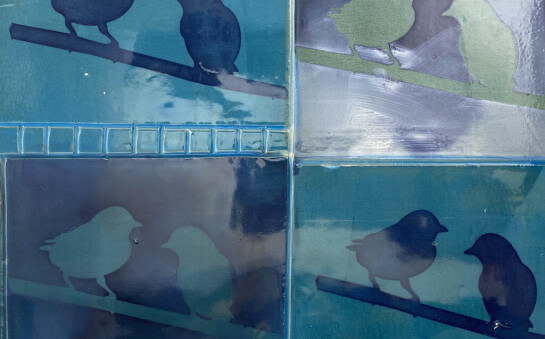
Super Simple Silkscreens: Printing with Underglazes
Help is on the way. In this workshop we will use common craft store materials to make frameless silk-screens to print onto clay.
Learn More
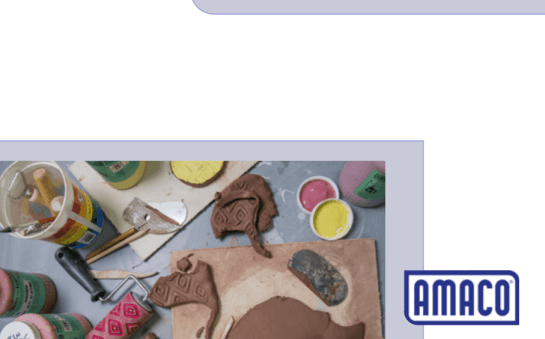
Press & Print on Moist Clay
In this video we demo how to make stamps to print and press on moist clay slabs creating texture and color at the same time. Once your slabs are textured, we demonstrate how to build simple cylinders which can be modified to create a wide variety of forms.
Learn More
Newbie Clay
NEWBIE CLAY is a brief guide with information to help you start on your clay journey, including video links for making, firing, and glazing your ceramic projects, definitions of common terms in clay, and guidance for choosing your materials.
Learn More