The Rose Project

How to make a rose bouquet.

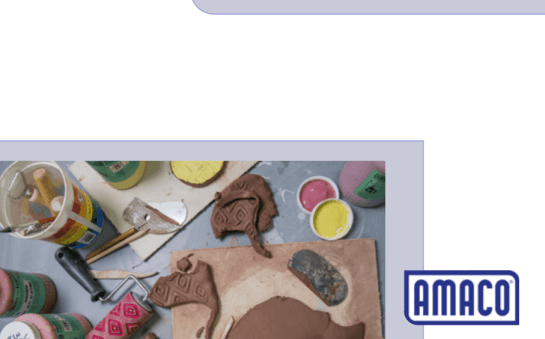
Assemble Materials
Roll Slab
Use paper to keep clay from sticking to rolling pin and roll out a thin sheet of clay (1/8" or less).
Cut Strip
Cut wavy strips of clay for the flower.
Flatten Edges and Roll
Flatten edges and then begin rolling at one end. As you roll begin to pinch the bottom of the rose together.
Continue Rolling
Continue rolling and pinching at the bottom. Periodically pull petals outward at the top and allow the clay to rip organically.
Finished Rose Bud
This is an example of what your finished rose bud should look like.
Make a Stem
To make a stem, take a chunk of clay and roll out a coil.
Attach Stem to Rose
Pierce the bottom of the rose bud to attach the stem. Score and slip connection areas, insert stem, then pinch rose bottom around stem.
Cut Out Leaves
From same clay slab, cut small slices in a basic leaf shape.
Texture Leaves
Texture the leaf slices by pressing into the Leaf Sprig Mold.
Attach Leaves
Attach the leaves to the stem by again scoring and slipping the connection areas, then pressing together.
Fire
Bisque fire to Cone 04. Glaze with AMACO® Matt (LM) glazes, then glaze fire at Cone 05.


