
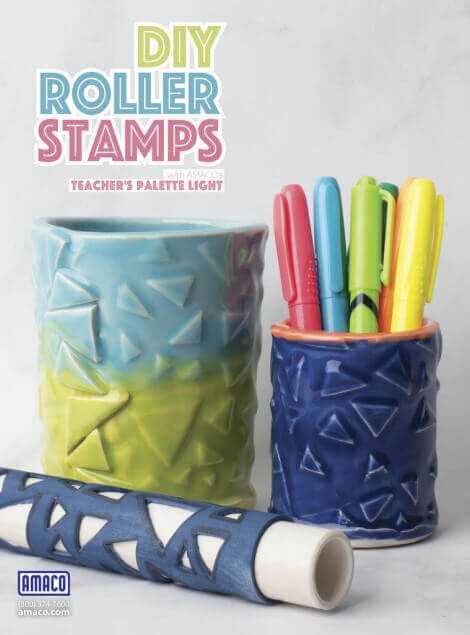
DIY Roller Stamps

Add some texture to your clay with these DIY Texture Rollers, featuring Teacher's Palette Light, a translucent glaze that highlights texture!
Supplies
- Teachers Palette Light
- Scissors
- Exacto knife
- Painter’s tape
- Black magic marker or Sharpie
- Sticky-backed foam (large enough to fit around PVC)
- PVC (.75” to 1” diameter cut to desired length)
Cut
Cut a piece of sticky-backed foam to fit around the PVC tube without overlap or gaps. Trim the foam to the length of the PVC.
Draw
Once the sheet of foam is cut, lay it flat and use a Sharpie marker to draw your design.
Cut Out Pattern
Use an exacto knife to cut on the lines.* Cut through the foam but not the backing paper.
Peel
Peel off parts of the design. Scraps that are removed may be saved and added back later to fill in gaps or enhance the design.
Tape
With the foam right side up, apply painters tape to the surface. This will provide an area to hold the foam while applying it.
Attach
Turn the design over to remove the original paper backing. Carefully wrap the sticky-backed foam onto the roller and remove the painter’s tape. Roll the PVC tube on the table to insure that all foam pieces are firmly attached.
Roll!
You can now use your roller on moist clay to create a beautiful textured pattern!
Glaze
Enhance your textured surfaces with Teacher's Palette Light translucent, gloss glazes!
Similar Lesson Plans
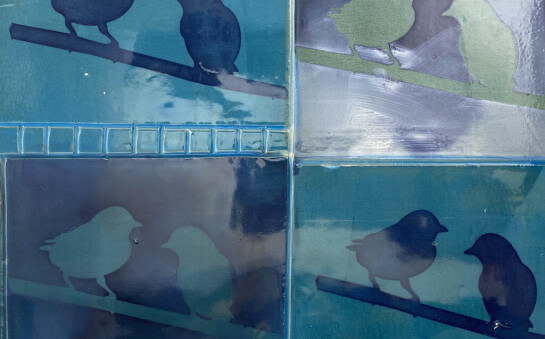
Super Simple Silkscreens: Printing with Underglazes
Help is on the way. In this workshop we will use common craft store materials to make frameless silk-screens to print onto clay.
Learn More
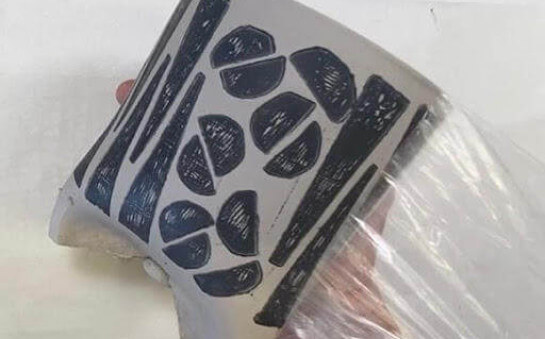
Press & Print on Moist Clay
In this video we demo how to make stamps to print and press on moist clay slabs creating texture and color at the same time. Once your slabs are textured, we demonstrate how to build simple cylinders which can be modified to create a wide variety of forms.
Learn More
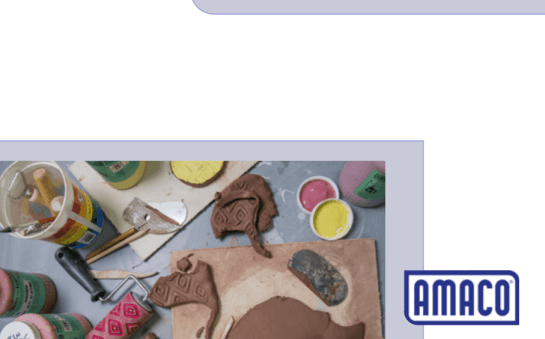
Newbie Clay
NEWBIE CLAY is a brief guide with information to help you start on your clay journey, including video links for making, firing, and glazing your ceramic projects, definitions of common terms in clay, and guidance for choosing your materials.
Learn More