
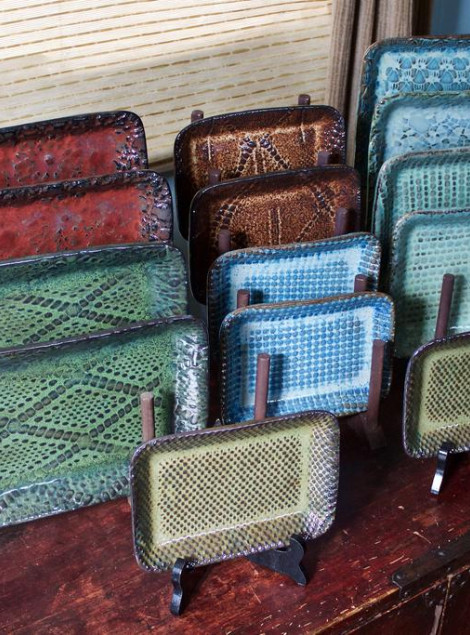
Easy-to-make Appetizer Platters Using Recycled Materials

This FUN and EASY hand-building project is great for all ages and experience levels.
Using Amaco Glazes along with assorted 'found objects' that would otherwise be slated for landfills, this simple, inexpensive project is a quick, creative way to make beautiful and functional serving ware.
Gather Materials
Set aside food-packaging trays and stained, torn or unused heavily textured fabrics. Once you begin saving these items you will see how quickly they add up.
After you have gathered a few, sort them by shape and size. They can be used over and over to make platters that are uniform in dimension and easy to repeat.
Match Fabrics to Foam Trays
While texture can be made using stamps or by other means, fabric is great for covering a large surface very quickly. Cut fabric pieces (if necessary) and match them to the tray sizes allowing the edges to slightly overlap.
Beautiful surfaces can be created using lace, corduroy, knits or crocheted items. Try unexpected textiles, too, such as woven mats, non-slip rug pads, burlap, jute, tulle, mesh or netting.
Make Clay Slab
Using either a slab roller or rolling pin and boards, roll a clay slab to between 3/8 and 1/4 inch thick.
Rough cut around the trays leaving an inch or two of clay sticking out on all sides.
Add Texture
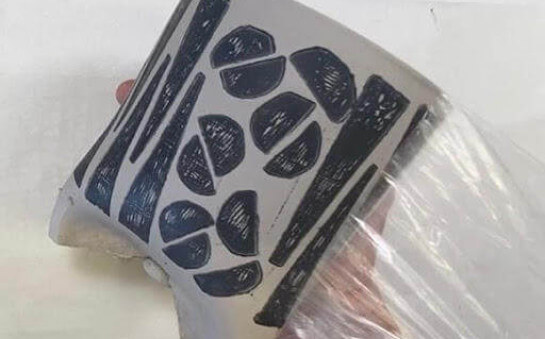
Smooth your chosen textured fabric piece on top of the slab then impress it into the clay.
If using a slab roller, without changing the depth setting, run the fabric-covered slab through in one direction only (for thinner fabrics a rolling pin works best).
Smooth Bottom
After carefully removing the textured fabric from the slab, sandwich between two ware boards and flip.
Using a metal rib, smooth away any canvas texture from what will become the bottom of your piece.
Prepare Tray Surface
To prevent cracking or warping as the clay dries out and shrinks, prepare the tray's surface with a lubricant such as spray cooking oil or WD-40.
Alternatively, a light dusting of cornstarch on the slab bottom will also prevent sticking.
Slump Clay into Tray
Using flat hands, carefully lift the slab texture-side up and lay it into the tray to create a slump mold. Gently press the clay into the corners of the tray being careful not to distort the texture.
To help gently coax the slab fully into place, lift the tray a few inches above the table and let it drop landing flat.
Trim Rim
Using a pin tool and your hand under the rim to help guide the cut, remove any excess clay from around the edge.
Allow to dry overnight or until leather hard. The edges will be cleaned up later, so for now just leave them looking rough.
Refine Form / Bisque Fire
When leather hard, place a flat hand on top and flip to remove from tray. Gently rib or sponge away any marks from the bottom that may have been transferred from the tray mold.
Clean the edges with a "sure form" tool, compress with a rubber rib and lightly sponge to smooth. Sign or stamp the bottom, set aside to fully dry then fire the tray to bisque.
Apply Glaze
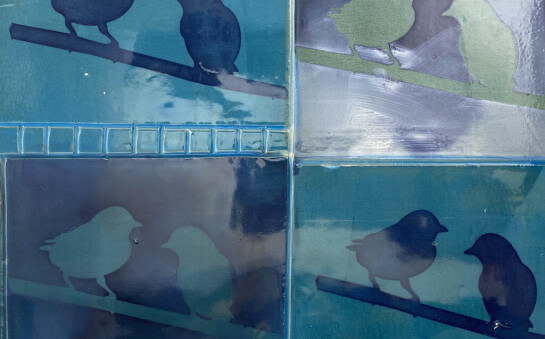
Sponge to remove dust then brush glaze the top and partly down the sides being careful to avoid the bottom. NOTE: Texture is brought out by some glazes and completely hidden by others. Be sure to make test pieces first.
Sponge away erroneous glaze marks from the bottom, load the kiln and FIRE! :)
Similar Lesson Plans
Super Simple Silkscreens: Printing with Underglazes
Help is on the way. In this workshop we will use common craft store materials to make frameless silk-screens to print onto clay.
Learn More
Press & Print on Moist Clay
In this video we demo how to make stamps to print and press on moist clay slabs creating texture and color at the same time. Once your slabs are textured, we demonstrate how to build simple cylinders which can be modified to create a wide variety of forms.
Learn More
Newbie Clay
NEWBIE CLAY is a brief guide with information to help you start on your clay journey, including video links for making, firing, and glazing your ceramic projects, definitions of common terms in clay, and guidance for choosing your materials.
Learn More