
Building a Lesson Plan / How-To / Tutorial
Have a project that works well for the studio or classroom? Maybe a technique you wish to share with everyone? This resource is designed to aid teachers, students, and makers alike to create and share their own original project/lesson plans with the growing online ceramics community.
Log In
In order to build a project/lesson plan, the creator must have an account on our website. This ensures that the creator can return and make updates and changes to the project/lesson plan. Log in using your email, Twitter, or Facebook!
Create A Bio
If this is your first project/lesson plan, you must create a small profile so your readers may get to know you better as an artist and educator! This will be featured in the upper right hand corner of all of your personal projects/lesson plans.
Lesson Plan Details
Provide a title and description of the project in the provided sections. Include information such as what age group the project/lesson plan is geared toward, whether or not it features cross-curricular material (history, math, etc), and whatever other information you think might be important. You should also upload a cover photo of the finished product for your project/lesson plan as a visual aid for your viewers.
Add Step-by-Step Instructions
Break your project/lesson plan up into phases and write up individual steps that walk readers through your activity. Each step provides a location to upload an image or video as a visual aid.
Add Supplies
To help those using your project/lesson plan, there is a section designated to list supplies that are required or recommended to complete your project. Optionally, if the item is available for purchase from our website, you may use the link box provided to include a link for each product to help your readers find the tools they need to complete your project.
Add Files
Have a PDF, Slideshow, Crosswords, or other supporting materials for your project/lesson plan? Upload these files using the "Add a File" button on the righthand side of your project/lesson plan.
Save Your Changes
When you are finished and everything looks good, you are ready to save your project/lesson plan and it will wait for administrative approval once you're done. Using the green button on the upper right hand corner of your project/lesson plan, save your project to your account. Someone will check it over on our end and following approval, you will be able to see your project/lesson plan on the website and it will be accessible to anyone who visits our website! To access pending projects or correct older ones, click on your account icon in the upper right hand corner (next to the search bar), and select "My Account" and then "My Projects" and a list of all of your past lesson plans should appear.
Submit for Approval
The final step! When your lesson plan or how-to project is ready to be published, click "Submit for Approval". Even if you have Submit your Project for Approval, you can still continue to edit, which may be necessary to complete it.
Lesson plans and How-Tos MUST meet the following criteria to be approved:
- They must include a step-by-step process for others to follow and replicate or teach.
- Images and videos must be your own and available for commercial use. Do not publish images which are not your own!
- Content must be suitable for viewing by all audiences. Inappropriate content will be deleted.
- Materials should include Amaco products.
Our staff reviews the submissions and approves them dependent on completion and appropriate content.
Video Tutorial
Similar Lesson Plans
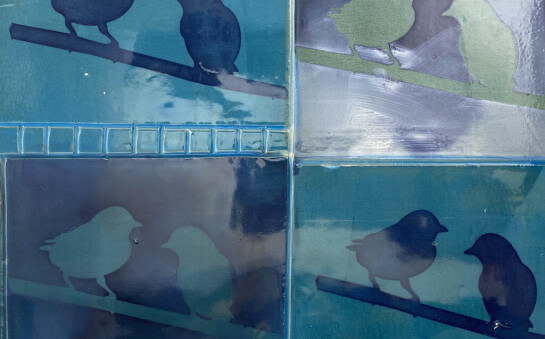
Super Simple Silkscreens: Printing with Underglazes
Help is on the way. In this workshop we will use common craft store materials to make frameless silk-screens to print onto clay.
Learn More
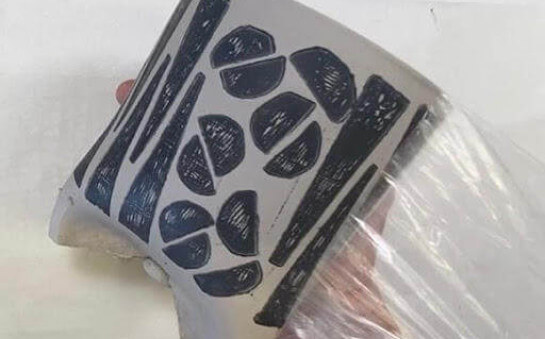
Press & Print on Moist Clay
In this video we demo how to make stamps to print and press on moist clay slabs creating texture and color at the same time. Once your slabs are textured, we demonstrate how to build simple cylinders which can be modified to create a wide variety of forms.
Learn More
Newbie Clay
NEWBIE CLAY is a brief guide with information to help you start on your clay journey, including video links for making, firing, and glazing your ceramic projects, definitions of common terms in clay, and guidance for choosing your materials.
Learn More