
Whimsical Fish

Fish have been important since prehistoric man depended upon them as food. Since then, the many different species and the ways to catch them have been depicted in art. Because their world under water is different from ours, we have long been fascinated by them. From fresh water gold fish to oceanic clown fish, they come in all shapes, sizes and colors. From those which live on the bottom of their underworld, to those which live close to the surface, their shape quite often reflects where they live. Start this lesson by studying different species of fish and discuss their shapes and colors. Study fish in art history and how different cultures portrayed fish. Study the art of caricature and how it can be used on more than just people. Through exaggeration of certain features, students will learn to make whimsical caricatures of actual fish species over several class periods.
Supplies List
- Sedona Red Clay 67 Moist
- White Art Clay Moist
- Scoring Tool
- Fettling Knife
- Wooden Throwing Ribs
- Hardwood Rolling Pin
- Hardwood Thickness Strips
- Liquid Gloss Low Fire Glazes
- SP-Arroya Soft White
- SP-Arroya Soft Black
- Glaze Brushes

Glaze fire
Start with two balls of clay
Start with two equal size balls of AMACO® Low Fire Clay.
Pinch into bowl
Press thumb into center of ball 3/4 of the way through. Begin to pinch and pull the ball of clay in a circular pattern until the ball forms a round cup or bowl shape. Repeat for second clay ball.
Repeat with second ball
Cover and let set up overnight
Cover clay bowls loosely with AMACO’s Polyethelene Plastic Bag and let set over-night. The next step can be done when the clay bowls are stiff but still moist (leather hard).
Score ...
... and slip
Score the rim of each bowl with AMACO’s Scoring Tool and apply slip with a paint brush to each rim.
Join pinch bowls
Press both bowls together at the rim to make a hollow clay ball. Gently rotate the bowls slightly back and forth until they make a firm seal at the seam.
Join and smooth
Smooth the seam with a wooden throwing rib.
Cut "mouth"
Use a fettling knife to cut a “mouth” hole in one end of the ball.
Form Features
Form the features (eyes, lips, or teeth) of your fish with a softer clay. Then score and use slip as in step 4 to attach the features to your fish.
Fins and Tail
Roll some clay slabs using either a slab roller or a rolling pin. Cut fins and tail shapes from the slabs. Attach the fins and tail with the scoring and slip method.
Dry
Allow fish to dry uncovered to greenware stage. Greenware stage is reached when the clay no longer feels cool or moist when placed against your cheek. NOTE: If your fish has a closed mouth design, be sure to cut a vent hole in the bottom to allow air and water to escape during firing.
Bisque and Apply Glaze
Bisque fire to Cone 04.
Use a soft natural-hair brush to apply a variety of bright AMACO® Gloss (LG) Glazes. Apply three generous coats in a cross-hatch pattern for a smooth finish. Allow to air dry.
Arroya Glaze application and firing
Apply one to two coats of AMACO® Soft Arroya glazes Black or White to create texture and variety in the gloss glaze. The thicker the coat of Arroya, the larger the “scales” will appear. The AMACO® Soft Arroya glazes are great for hiding surface imperfections in the clay object.
Similar Lesson Plans


Food For Thought
Learn More
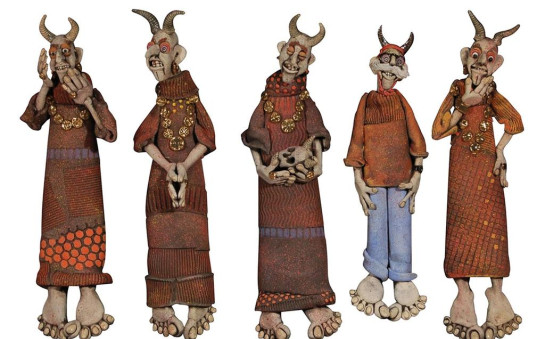
Whimsical Figures
Learn More

Fish Wind Hanger
Learn More
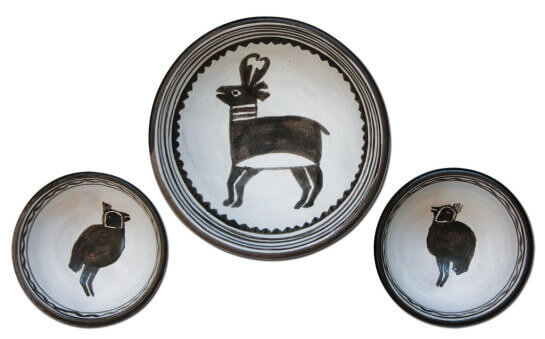
Mimbres Bowls
Learn More