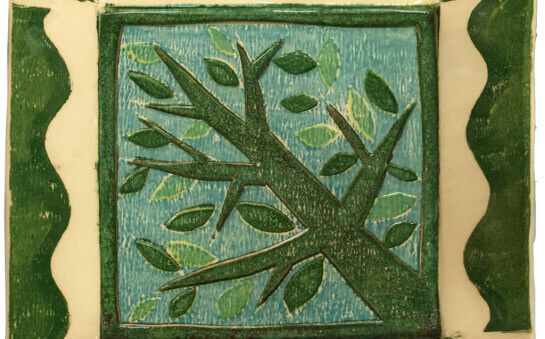
Green Glazing with Teachers Palette Glazes

Discover how to apply and blend glazes on greenware (unfired clay). AMACO’s Teachers Palette Glazes will be used on leatherhard clay to achieve a wide range of colors. Green glazing and color theory using glazes will be discussed.

Prepare the clay slab.
Roll and smooth a slab. Press the slab between two 10" heavy paper plates and trim off the excess clay.
Clean the edges of the clay plate.
Use plastic wrap to smooth and clean the edges.
Glaze the clay with Teacher's Palette Cotton White
Using a wide soft brush apply two coats of TP-11 Cotton White when the clay is firm leather hard to dry. Keep the clay in the paper plate throughout the process. Let the glaze dry.
Draw your design
Use a pencil and ruler to divide the 12" x 12" newsprint paper into 8 parts. The paper can also be folded to create these sections.
Mark One inch segments.
Mark one inch segments and connect them to create concentric circles.
Draw a radial design.
Use the circular grid pattern to draw a radial design.
Sketch the lines onto the white clay plate.
Place the dry glazed clay plate on the newsprint diagram and use a soft pencil to sketch the lines.
Sketch on the clay plate.
Mark the plate like the paper diagram and lightly sketch onto the clay plate using a pencil or water based marker.
Using a brush or sponge add Teachers Palette glazes to the clay plate.
Using a brush or sponge add Teachers Palette glazes to the clay plate. Teachers Palette glazes work great for this project because they can be layered, the colors match before and after firing, thin coats look like watercolor and additional coats give solid coverage.
Paint additional colors to build on the design.
Paint additional colors to build on the design. Try using different size paintbrushes to stamp a design.
Continue building on the rings of color.
Continue building on the rings of color. Outlining can be done with a thin fine brush and one of the darker colors.
Clean the edges if needed.
A sure form, rasp, or shredder tool can be used to shave around the edge if needed.
Finish painting the clay plate.
Don’t be concerned if the final design differs from the original template. The paper plan can be colored to create a beautiful drawing.


