
Herpetological Handbuilding
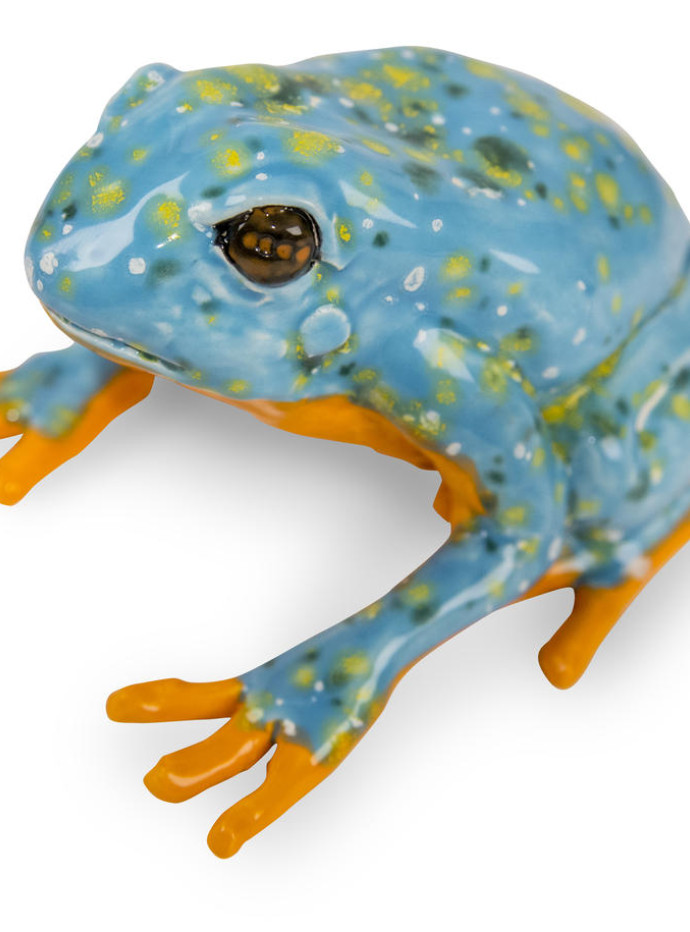
There are several different classes in the animal kingdom used to identify creatures: reptiles, birds, fish, mammals, insects, and amphibians. Each of these groups consists of animals that have certain attributes in common- where they live, how they breathe, what they eat, and more! One of the most fascinating groups among these is the amphibians: creatures that live underwater AND on land! These organisms slightly resemble reptiles and take the form of frogs and toads, salamanders, caecilians. Have your students research amphibians and their unique habitats while taking note of how they use their colors to protect themselves.Many amphibians boast bright colors to warn enemies that they are poisonous, and others have colors that mimic the environment to confuse predators and hide. When the clay amphibians have been constructed and bisque fired, encourage your students to use Crystaltex glazes to create brightly colored or camouflaged creatures!
Supplies List
- Versa Clay No.20
- Crystaltex Glazes
- pencil
- paper
- Sponges
- Hardwood Rolling Pin
- Rubber Rib No. 1

Reasearch and Sketching
Teach your students about the different species there are in the animal kingdom. Explain to them what is unique about amphibians! Some amphibians have features like webbed toes, special colors, and gills that make it easier to survive their habitats. The students should consider where the amphibian lives and what kinds of colors and features it would need to protect itself from harm. As they learn, allow them to take notes and draw a color sketch of a particular amphibian they wish to build in clay.
Pinching
Each student should pinch two balls of clay into bowl shapes that will be joined to form the hollow body. If the creature is a salamander, the bowls should be skinny and long, and frogs and toads will need fatter, wider bowls. Remember that a hole needs to be added to the body before firing to keep the piece from exploding in the kiln.
Joining
To join the two bowls at the lip, score and slip each side with a fork and carefully press them together. Then, with a wooden modeling tool or their fingers, show your students how to blend the clay from either side to seal the bond between the two sides. If the pieces are not properly joined, there could be cracking and fragility later.To finish the body and make sure it won't crack at the seam, your students should roll a thin coil out and place it over the seam, blending it into the surrounding clay.
Details
Once your students all have differently shaped bodies for their amphibians, have them make arms, legs, eyes and other details using coils. These details can be added to their clay bodies by scoring both surfaces, applying slip, and pushing them together. Remind them to blend joined areas together to form tighter, better looking bonds.
Finishing Up
Once they are completely dry, the amphibians can be bisque fired to cone 04 and returned to the students for glazing. Your students should have already picked out a color for their amphibians- one that is appropriate for its surroundings and survival method. The Crystaltex glazes should be applied by brush carefully- making sure there are 3 coats and that there is no glaze on the bottom of the piece. The students may arrange the glaze crystals (the small rocks in the glaze) with the tip of their brush or just let them appear randomly- they will be a big surprise for your students after the glaze fire! After firing to cone 05, the Crystaltex glazes will have morphed into a vibrant, glossy surface that boast exciting bursts of color that will fascinate your students and mimic the natural coloration of amphibians. We hope your students enjoy learning about these fantastic and unique creatures and are excited to create on of their very own! Hop to it!!
Finished!
Video Tutorial
Similar Lesson Plans

Food For Thought
Learn More


Three Cups
Learn More

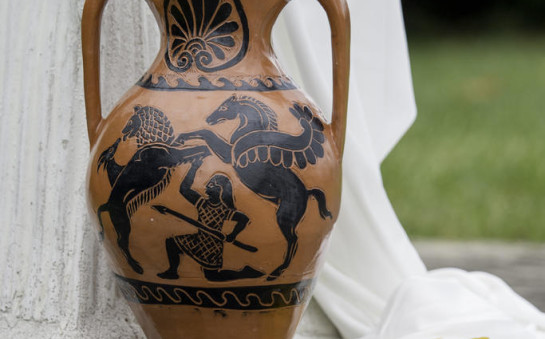
Twisted Vessels
Learn More
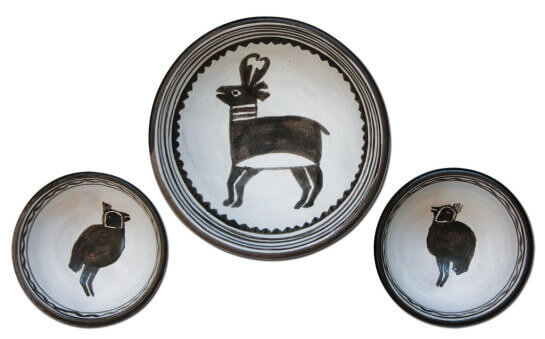
Mimbres Bowls
Learn More